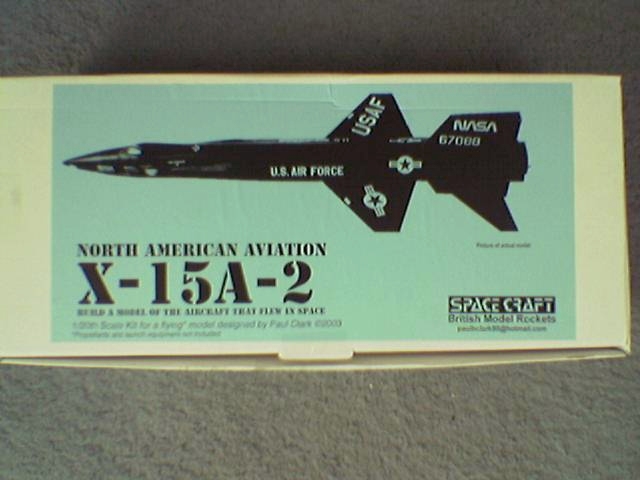


This kit comes packaged in a very sturdy cardboard box. In the case of my purchase, direct from British Spacecraft, the box was additionally wrapped in foam sheet, leaving little chance of damage to the contents. I first came across these kits on the web site of US supplier Lawndart Rocketry, however the web site indicated that there were very few left in stock, and contacting Lawndart was problematic (I subsequently learned that Lawndart are effectively out-of-business). So, when I saw a built up kit at UKRA 2004, and realised that the owner was Paul Clarke the designer, my interest was raised.
|
|
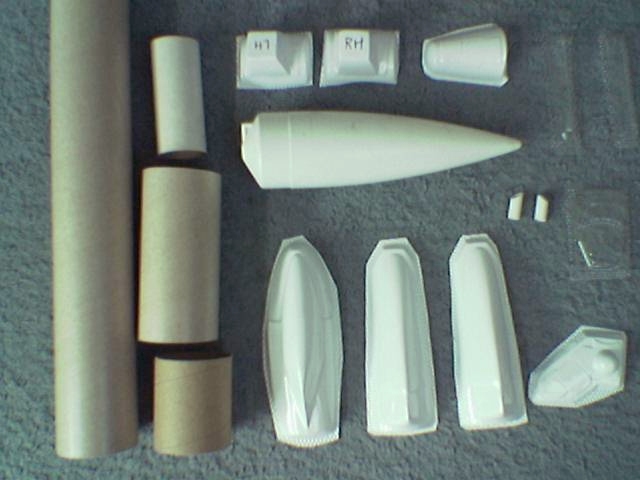
The body tubes are of good quality, though may need slight filling, if the spiral is not to show. The coupler is of slightly rough surface finish, but this is hardly a problem. The nose cone is also good, and appears similar, if not identical to LOC.
Perhaps surprisingly, there's no balsa at all in this kit. Instead, the wings, fins and chines (the side fuselage bits that the wings sprout from) are built up form a combination of foam board, laminated paper and vac-formed PVC (more on the PVC later). The laminated paper parts are just that, pre-printed sheets of paper that have been laminated with self-adhesive plastic material. The parts must be cut out by the builder, but that's no great hardship for those of us that like to actually build! I've never seen this technique used before, and I'm looking forwards to seeing how well it goes together in practice. Parts provided as laminates include, wings, horizontal, ventral and dorsal stabilators, chines and various internal construction parts. The foam board parts include centring rings, and strengthening inserts for parts such as the wings, horizontal stabilators, plus mounts for the skid housings and rudder.
In a kit of an unusual prototype such as this, it's the parts that make the prototype unusual, that are key to the success of the kit. In this case that role is taken by the Vac-formed PVC parts. I've never had much success with various bits of vac-formed polystyrene that I've come across in my kit-building career. I've found them delicate and weak when being glued into position. These parts cannot have that criticism level against them as they appear very sturdy. How well the stand up to being glued in place remains to be seen.
The vac-formed parts include the cockpit canopy, and the leading edges of the chines. These parts curve in two planes and would be hard to make in any other way, other than perhaps shaped balsa (time consuming) or injection molded plastic (expensive). Also included are details parts such as the nose wheel cover, and the helium tank. The parts themselves are quite crisply moulded, though the limits of the technology means that some edges are not quite as square as you might wish for. A little filler will go a long way in these instances.
The basic procedure seems to be quite straight forward: glue together the body tubes using the coupler provided, then mark the tubing up using the paper template. Attach the foam board parts to the body tube, then attach the laminated paper parts to the foam board parts. Finally, attach the vac-formed PVC parts, and fill as required. Obviously, it's a little more involved than that and some skill and patience will be required in cutting out the parts, but that's the overall gist of it.
This is the weakest are of the kit. I'm not very keen on plastic film parachutes at the best of times, and it just doesn't seem very appropriate on a kit of this quality.
The instructions are pretty good, giving both outline and detailed assembly instructions. There are plenty of diagrams which help greatly in the understanding of the written instructions. Since this is a mixed-media kit, special attention is given to the choice of glue to join the various media parts together.
There is a very good scale diagram to help with painting and decal placement. As a bonus this also shows the desired location of the centre of gravity, for those of us that cannot resist strengthening, customising, or otherwise adding modifications.
The instructions indicate that the kit was designed to be flown on 24 and 29mm F & G motors, presumably Aerotech. Given the scarcity of these motors, it seems prudent to build The kit to allow other options. Indeed the kit doesn't mandate any particular motor mount. The provided motor mount is 41mm in diameter, and it is suggested either that the mount is replaced with the desired size, or that adapters are used to adapt down to the desired size. Pre-marked foam board centring rings are provided for either case.
During a discussion on the web-based forum http://www.rocketryforum.com, it was suggested that the single motor mount could be replaced by a 24mm cluster mount. There is certainly space for 4 x D12 motors, effectively giving the equivalent power of a an F48 (total of 68 N s). Alternatively, a Pro38 G69 or G79 Smoky Sam could be used, though this may required additional strengthening.
I don't think this is a kit for beginners, though it should be easily buildable by someone of moderate modelling skill and patience. The only disappointing side is the parachute, which lets the rest of the kits down a bit. Plastic film is OK for low power rockets, but I like something a bit more substantial for medium power. At approximately Ł45, I think this kit gives very good value for money. If you think of it as being equivalent to the mid power Aerotech kits, and compare both the prices and what you get for your money, I think you will agree. This is a kit for those of us that like to build, and is far more than your typical "three fins and a nosecone".
At The time of writing, SPACECRAFT don't have a web site, though they will take orders via email/PayPal. Contact Paul Clark (paulbclark80 at hotmail dot com) for more information. I also believe that the kits are being stocked by Deepsky Rocket Shop. Once I've decided what I'm going to do with the kit, I'll document the process, which may then, editor willing, form the basis for a subsequent article.

|