|
|
|
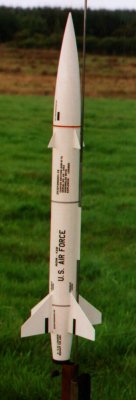
PML Bullpuppy with |
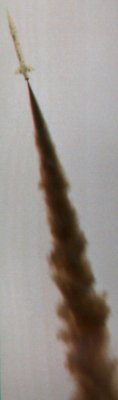
First Flight |
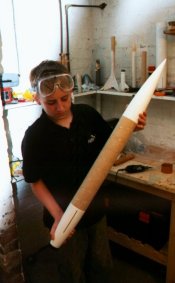
Bullpuppy
built by Shaun Longhorn
Shaun had always liked the PML Bullpuppy kit. At first I put him off (I'm his Dad BTW), by buying him an Estes Bullpup kit, because I didn't think he was ready for HPR. Steadily though he proved his point by scratch building various rockets and flying them, under supervision, on up to F power. He would need a license to acquire before he could use composite motors himself. So at Brass Balls 2000, he, and a number of the other fliers, finally wore me down and I let him buy the kit, it was mostly his money anyway. It sat for a long time doing nothing, but eventually he got his act together and built it.
Construction
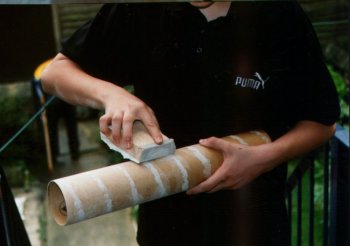
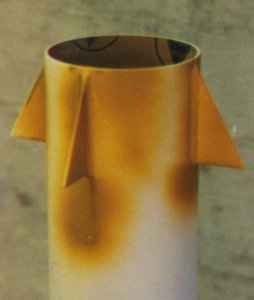
Constructions wasn't too different from a standard build. The only real difference being the addition of a retaining ring, and motor mount adaptor. The kit had phenolic body tube, so the spiral needed to be filled and sanded. I think this was the chore that delayed the start of construction for a while. He used two part Ronseal exterior wood filler, which is easier to sand than P38 car body filler.
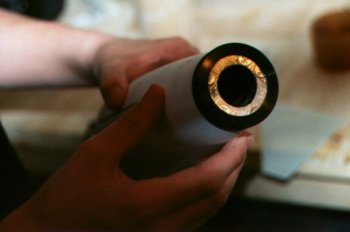
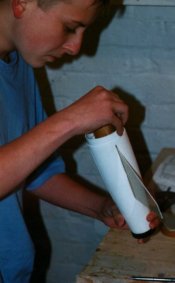
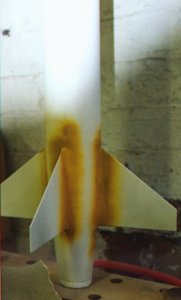
He was particularly careful with the internal fillets on the main fins, applying epoxy to both where the fins emerged into the boat tail and where they joined the motor mount. Both '5 minutes' and 'two ton' Devcon epoxy were used during construction.